FREE SHIPPING WITH ORDERS OVER $99
Rangefinder Rx
By Jace Bauserman
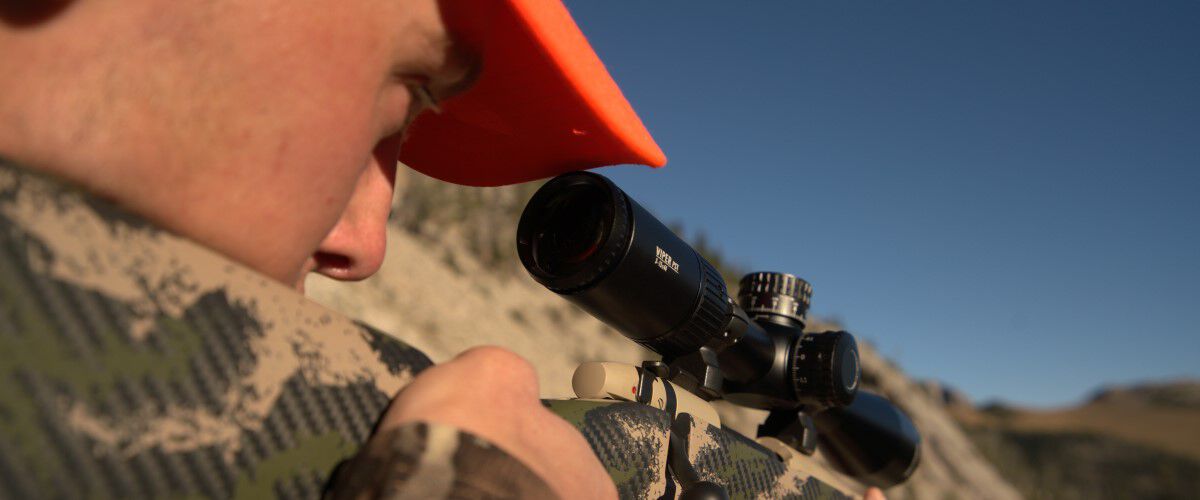
As hunters, we don’t think about it often, but we should. Yes, today’s laser rangefinding devices provide an immediate readout to a target. However, no matter how good, these pieces of equipment are mechanical devices, and things can go wrong. Batteries can die, or, for reasons unknown, the unit can malfunction. Unlikely? Yes, but in my hunting tenure, I've had three major issues arise with a rangefinding unit, and a quick battery change remedied only one. Then there are those times when blinding rain, snow or other environmental factors hinder the abilities of a battery-operated unit.
So it begs the big question: What do you do when the trophy of a lifetime steps out, and your rangefinder doesn’t give you a readout? A moment of panic is natural, but then, heed these steps and put your round on the mark.
Start With A Foundation
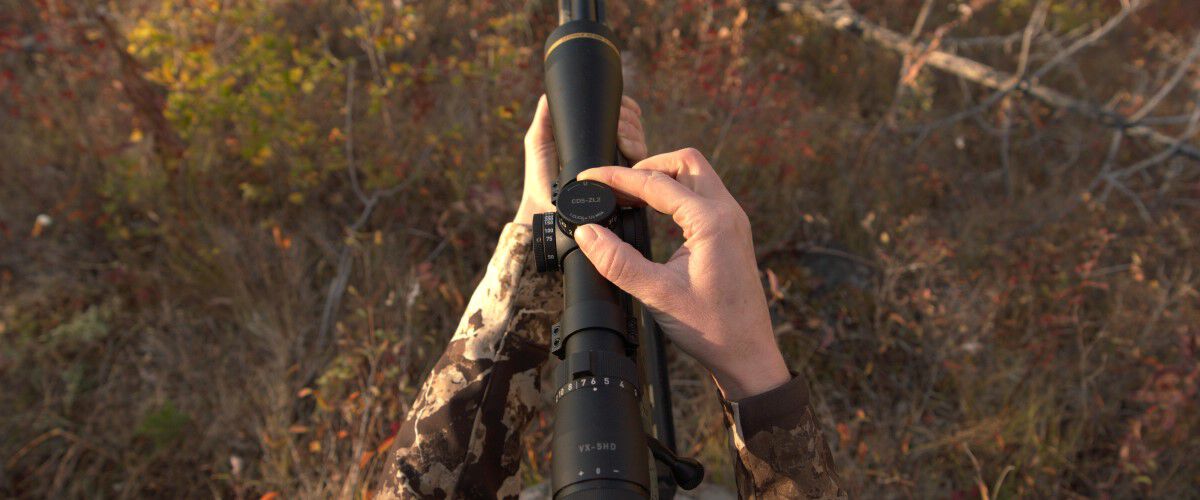
Months before your hunt, do your research. If your target is a whitetailed deer, 15 inches is a reasonable estimate from the top of the deer’s back to the bottom of its belly. Elk will be around 25 inches. Some simple anatomy research is all that’s required to identify the length of this area on any big-game species. Next, get a Mildot Master at your local shooting store or order one online. A Mildot Master utilizes logarithmic and inverse logarithmic scales to provide rapid and straightforward yardage estimation. If you know the size of your target, bracket your reticle over the target, count how many mils it takes to cover the size of the target from top to bottom, and get an accurate range. For example, if it takes 2.5 mils to cover the target size, use the slide on the Mildot Master to match up the target’s length with the number of mils, and the Mildot Master will give you an accurate range. The Mildot Master works with MOA, and MOA can be converted to mils by dividing MOA by 3.43.
Before Your Hunt
- Create multiple cardboard cutouts that mirror the size of your targeted animal’s vitals.
- Head to the range and place those cutouts at several unknown distances.
- Take your position, bracket an area, count the number of mils it takes to cover that area, get your range, and shoot. Repeat this process multiple times. There is nothing like proving a method to yourself and having confidence in it.
Once you’ve put in some practice, create quick reference cards that include the target size and multiple mil count coverages. Keep these cards in your pack, or use clear packing tape to attach them to your rifle stock. These reference cards are gold. If your rangefinder isn’t performing, you can quickly bracket the target, count the number of mils and then glance at your reference card to get an accurate range.
Most shooters make multiple cards and keep them on hand at all times. Therefore, cards that cover top-to-bottom measurements of 12, 15, 20, 24 and 30 inches are standard. With each card, mil counts of 3.5, 3, 2.5, 2, 1.5, 1 and .5 are common. If you plan to use MOA, adjust your cards accordingly.
Preparation is often the key to success on any hunt, and when Murphy's Law rears its ugly head, it's those who have taken the time to dot every I and cross every T who keep their head and execute.