FREE SHIPPING WITH ORDERS OVER $99
Handgun Cartridge Reloading In Six Steps
Reloading rifle or shotgun ammunition is pretty common. Rifle toters love the increased accuracy they get from a custom load, and though the price of necessary equipment has grown, it’s still a worthwhile endeavor for many. Those who like to test their skills on trap, skeet and sporting clays tend to load their own as well. The process is relaxing, and shooters can spend the offseason cranking out round after round.
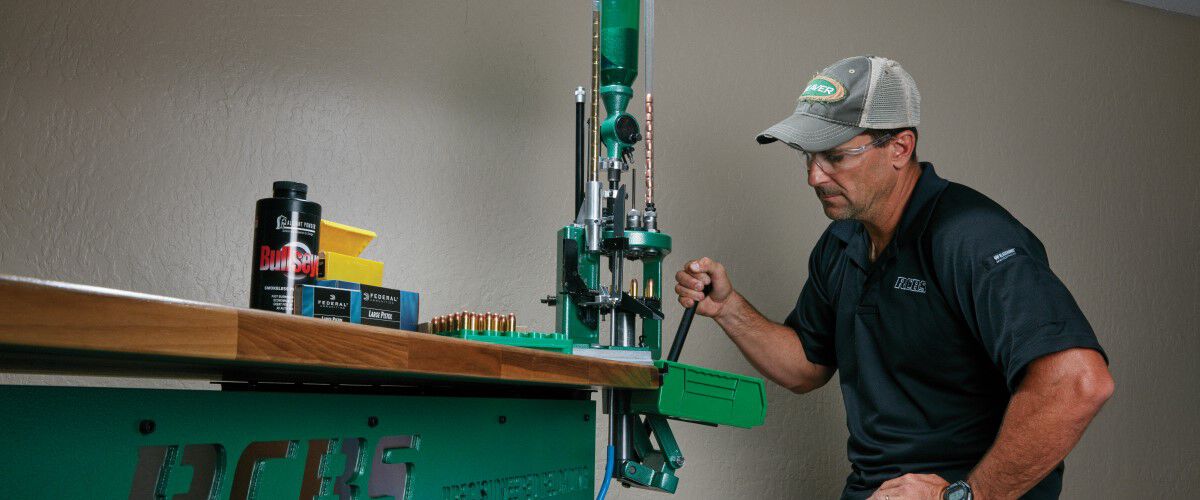
Though pistol cartridge reloading isn’t quite as common, more and more shooters are opting to build their own handgun ammo. If you’re tinkering with the idea, heed these six simple steps and get going. Please note that these six stages are standard practice for most turret or progressive style presses with a typical die setup.
Clean Your Brass
First, brass cases must be cleaned. One of the most effective, mess-free ways to do it is with a vibratory tumbler and dry media. A plastic tub that sits on top of an electric motor that causes the brass to vibrate in a mixture of ground walnut shells is very effective. There are lots of other dry media products available as well. Set the brass in the tumbler, turn it on, and walk away for an hour or two. The job is done when you return. Plus, you won't have to listen to the brain-numbing rattle of clanging brass.
Sizing & Depriming
The firing process pushes the brass against the chamber wall, and for this reason, brass needs to be resized to ensure a newly loaded round will chamber adequately the next time it is fired. The next piece of the reloading puzzle is to remove the spent primer. The decapping pin on your reloader will quickly knock out the old primer and make room for a new one.
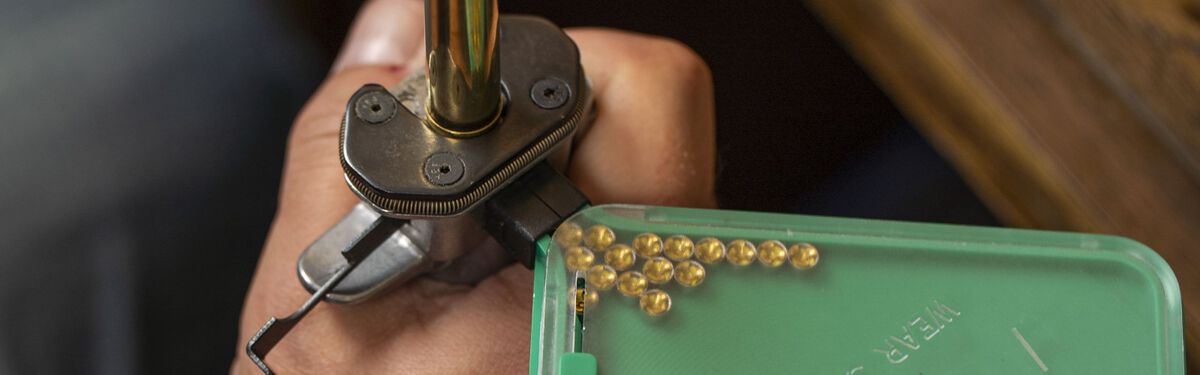
Priming
With the spent primer removed, it’s time to add a fresh one. The primer inserts into the case from the bottom. Using the press or a separate hand tool, the process is quick and headache-free. Gently press the new primer into the pocket, and check to make sure the primer seats properly. The primer should seat a few thousandths of an inch into the primer pocket. This ensures the primer will not be the first thing to hit if the round drops on a hard surface. Plus, it eliminates the chance of an improper feed.
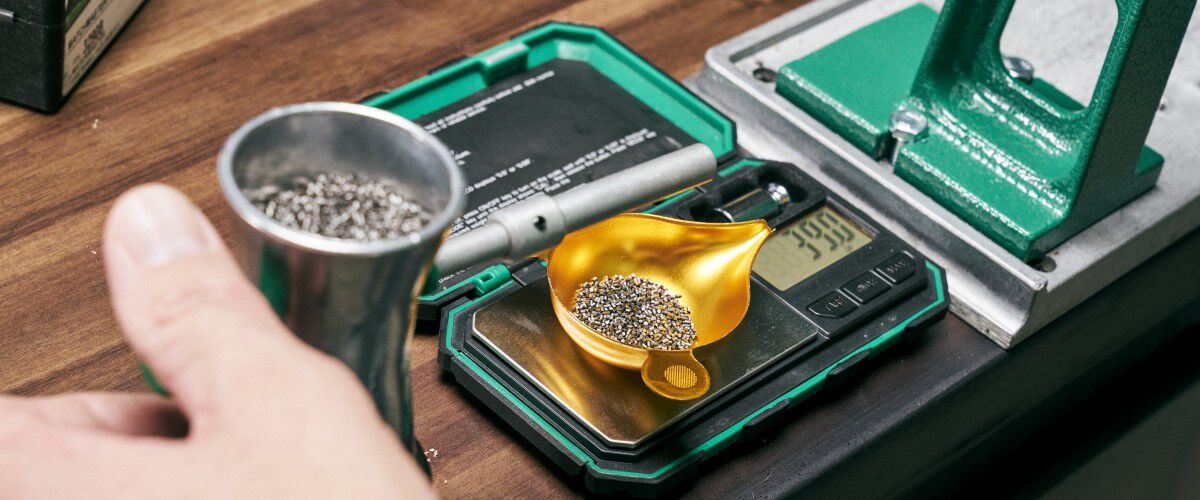
Powder
Adding powder is the next step. As with each part of the reloading process, this step is all about being precise. Using a powder measure tool, pour out the exact amount of powder called for in your reloading recipe—down-to-the-grain—and send it down the drop tube. Some reloading presses will have case-activated powder measures.
Expand The Case Mouth
The case mouth expander die opens the mouth of the case to a just-right diameter to accept the new bullet. The die ensures the bullet presses into the brass without any lead or copper shaving off. Creating handloads is all about precision, and this step is a shining example of just how detailed the process needs to be. However, tools make the process a snap. Don’t think the reloading process is too complicated for you.
Seat & Crimp
Now that the case is charged, the bullet needs to be added, and the mouth of the case needs to be crimped. On most presses, the die will have to be adjusted to press the bullet into the case to the exact depth. It is essential handgun cartridges are built to a perfect overall length. If not, new rounds will not fit inside the magazine. In addition, there could be too little or not enough pressure on the round.
With the bullet properly seated, it’s time to “fix” the expansion of the case mouth in laymen's terms. While some presses do the seat and crimp in one step, others make this a two-step process. A crimp ring is used for revolvers, and a taper ring is used for semi-auto handguns to get the right crimp.
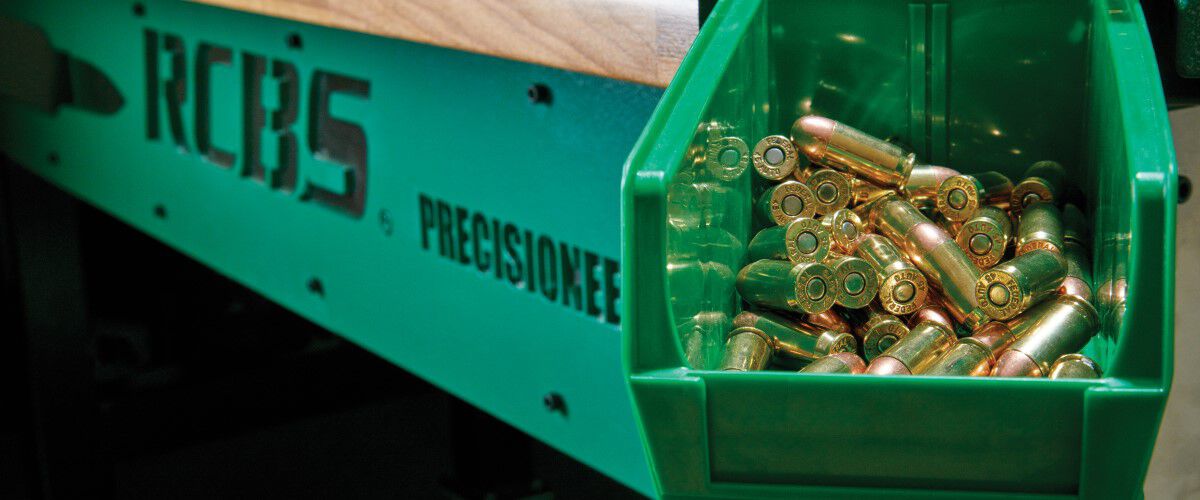
There you have it—everything you need to get started reloading your handgun ammo in six easy steps. If you’re looking for more information, check out the collection of educational materials from our friends at RCBS. The articles and videos you’ll find go deeper into the process and provide visual steps you can follow.